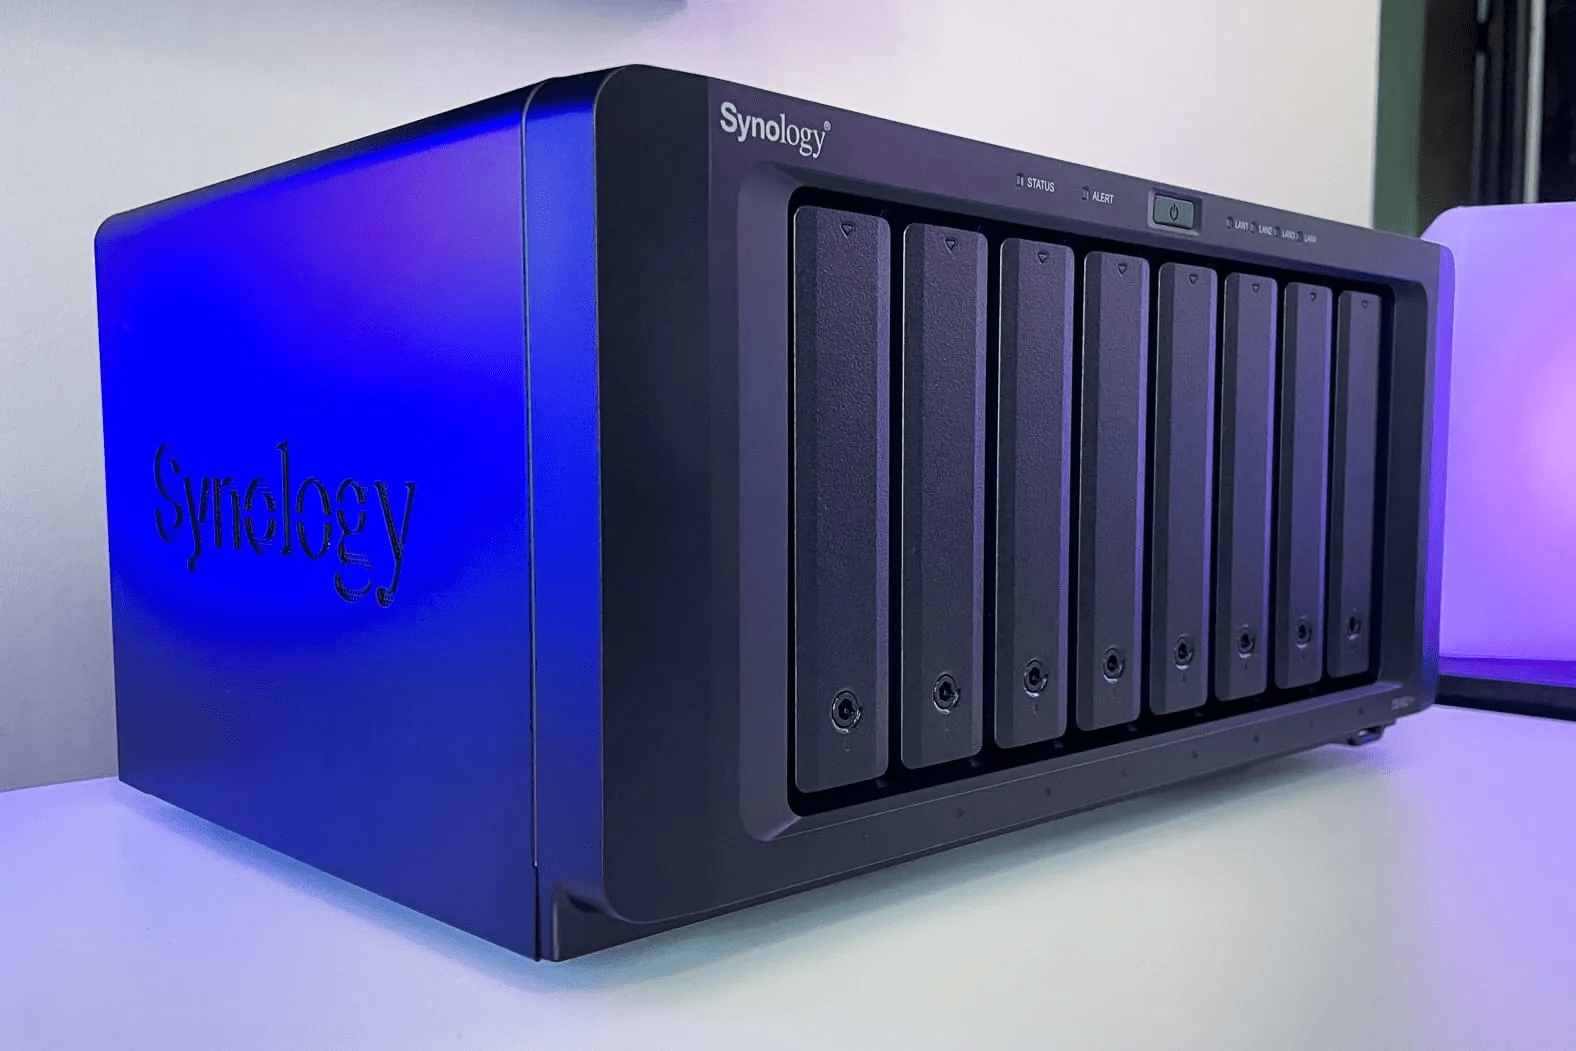
Handling growing data like photos, videos and big files is so important. Synology NAS is a device that helps you to manage all the data files. This device has drive slots, extra memory slots and connecting options with networking devices. To install this extra-ordinary device into your home you can take help from this informative article. This article will discuss a small part of the setup that is connecting your Synology device through your computer via find synology web utility. Let’s start this full-of-information article.
Connect Synology NAS
To connect your Synology NAS device, you have to use the web URL find.synology.com. Take an overview on some of the paragraphs that provide information of this connecting process.
Start Your Synology Device
We have to start with turning on the Synology device. To turn it on, you have to insert the drives into the drive trays. Just pull out the trays and place the drives into the trays. Now, use the drive tray key to lock the trays.
If you want to add more memory into the Synology device, then open the memory slots that are given inside the NAS device. Pull out all the trays and place the memory plates or chips into these slots and attach the main unit again.
Then connect the power cord to the power port of the device, and insert the adaptor to the wall socket. Then turn it on by pressing the On/Off button given on front of the NAS device.
Connect It to Router
Now, you have to link it to a networking device like hub, switch or router. You must use wired connection to connect to the router or any other device. Use the Ethernet cable to make a strong link. You will find an Ethernet port at the back of the NAS device; just insert one end of the cable to it. And insert other end to the LAN port of the router.
Link Computer Same Network
After connecting the Synology device to the router, you must link your computer to the same router network via Ethernet cable. After the linking your desktop to the router, you need to open up any internet browser and locate the address bar in it.
Search Find.synology.com
Type in the web address of the Synology NAS device that is find.synology.com and search it. By searching the URL you will reach into the web assistant of the NAS device. This assistant will automatically search and show you the Synology device on the screen.
Connect NAS Device
You will see a Connect button on the bottom of the web assistant. Just click on it and you will successfully connect to your Synology NAS and can manage your data easily.
There is more that you can do from this web utility, some of the examples its provided features that are DiskStation manager (helps you to download the updates and shows status of the device) and connecting directly to the computer (you can send data from this NAS and computer connection).
After this connection of Synology device, you can manage photos, videos and data files. So, you can enjoy your past moments with Synology, we called it Synology photos vs moments.
End Words
Now, we have reached at the end of this informative article in which you have learned how to connect Synology NAS device with the help of your computer. We provide you simple steps to complete the linking NAS device to your computer network. Hopefully, you have read all these above-written informative paragraphs and successfully connected your data management device to your computer. Now, you can manage your big files with the help of this interesting NAS device.


