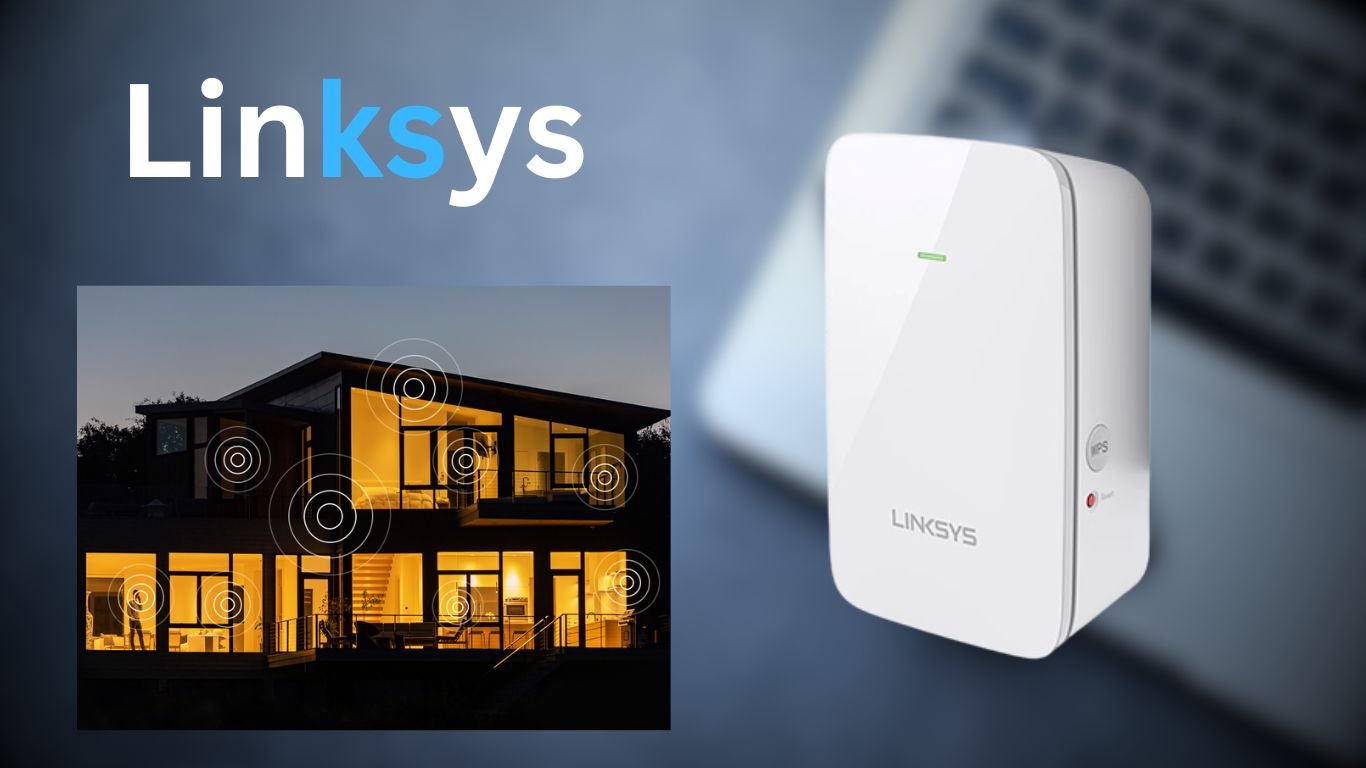
Linksys WiFi range extender is a networking device, which connects with the any brand router and expands the internet services in your house. With the web-based utility that Linksys provides, you can easily complete the Linksys RE7000 setup. It is also easy to connect and simple to use. In this article, we will share the full user guide of the Linksys RE7000 device. In this user guide, you will see two sections; one contains the hardware specifications, setup and the second one contains information about how to access the interface of the range extender.
Hardware Specification and Setup
In this section, you will read the specification and how to setup the range extender hardware.
Hardware Specification
- On the front of the WiFi range extender, you will find an LED light, which shows the status of the networking device.
- At the side of the extender, you will see WPS and power button.
- Under the device, an Ethernet port is available that you can use to connect with the router, hub or switch.
- It is a plug-in device, so on the back you will find two plug-in rods.
Hardware Setup
- The Linksys extender connects with the router to provide extended internet network into your home.
- To make the link between the router and extender, you have to find an optimal spot near to the router.
- Optimal spot means, place where no electronic device is nearby.
- To establish connection, you have to use network cable. The cable must be inserted into WAN port of the extender and LAN port of the router.
- Then, plug it in to nearest electric wall socket and press the power button to turn it on.
If you have completed the hardware setup of the Linksys extender, and want to access the interface of the range extender, then you can take help from this down written section.
How to Access Interface of Linksys Extender?
To log in to the interface of the WiFi range extender, you have to follow these below-written subsections.
Link Your Computer
The first step to access the interface of the extender is connecting your computer to it via Ethernet cable. Don’t use wireless connected internet devices like phones or laptop to access the extender because it can cause problem.
Enter to 192.169.1.1
Now, open up the web browser and write in IP address 192.168.1.1 in the address bar, then search it. This login URL will take you to the login page of the interface. Here, you will see two field blanks named username and password. Just fill them by using user manual that came with the router. Then by clicking the Next button you will enter to the interface.
Manage Settings and Networks
In the interface page, a Dashboard will display on the screen. From this stylish dashboard you can easily configure the router’s settings and networks. You also can update the extender’s firmware, change username, password and enable or disable other features of the Linksys WiFi range extender.
Note: You also can access the interface of the range extender by Linksys app via your phone, but it is advisable that you log in to the repeater using a wird internet device like computer.
In Conclusion
So, here we have come at the end of this informative article in which you have learned about full setup of the Linksys RE7000 WiFi range extender. In this installation guide, you have read hardware specification, setup and accessing the range extender’s interface. We are hoping that you have gained all the knowledge about the new Linksys repeater and successfully configured it with the help of this article.


